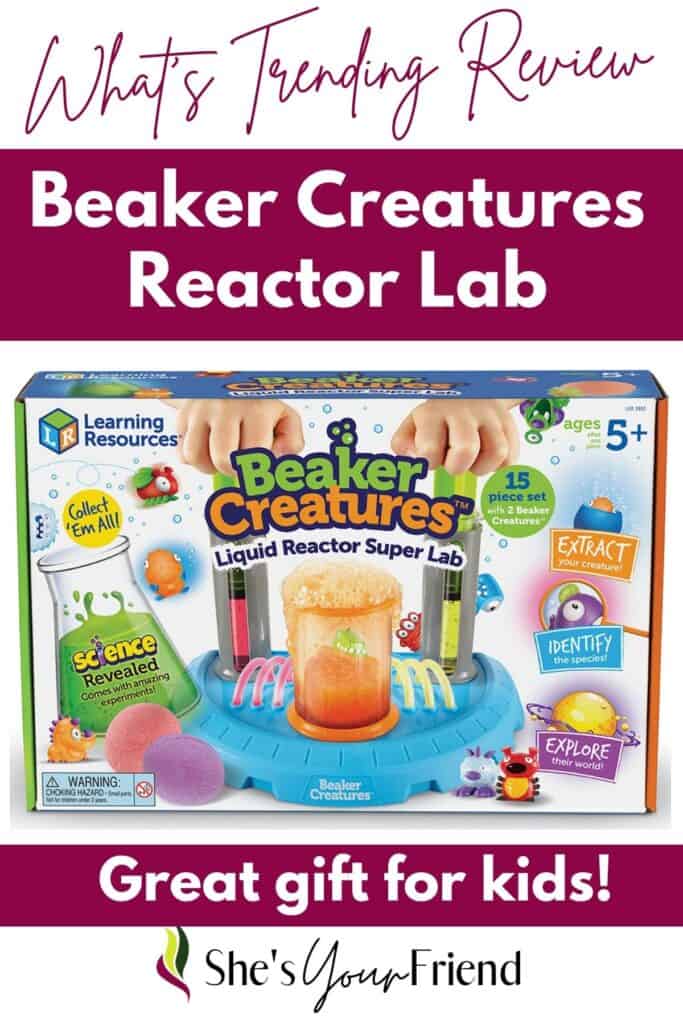
When I first saw the Beaker Creatures Lab, I immediately knew this looked like a great educational gift! It's also why I included it in my list of science gifts here.
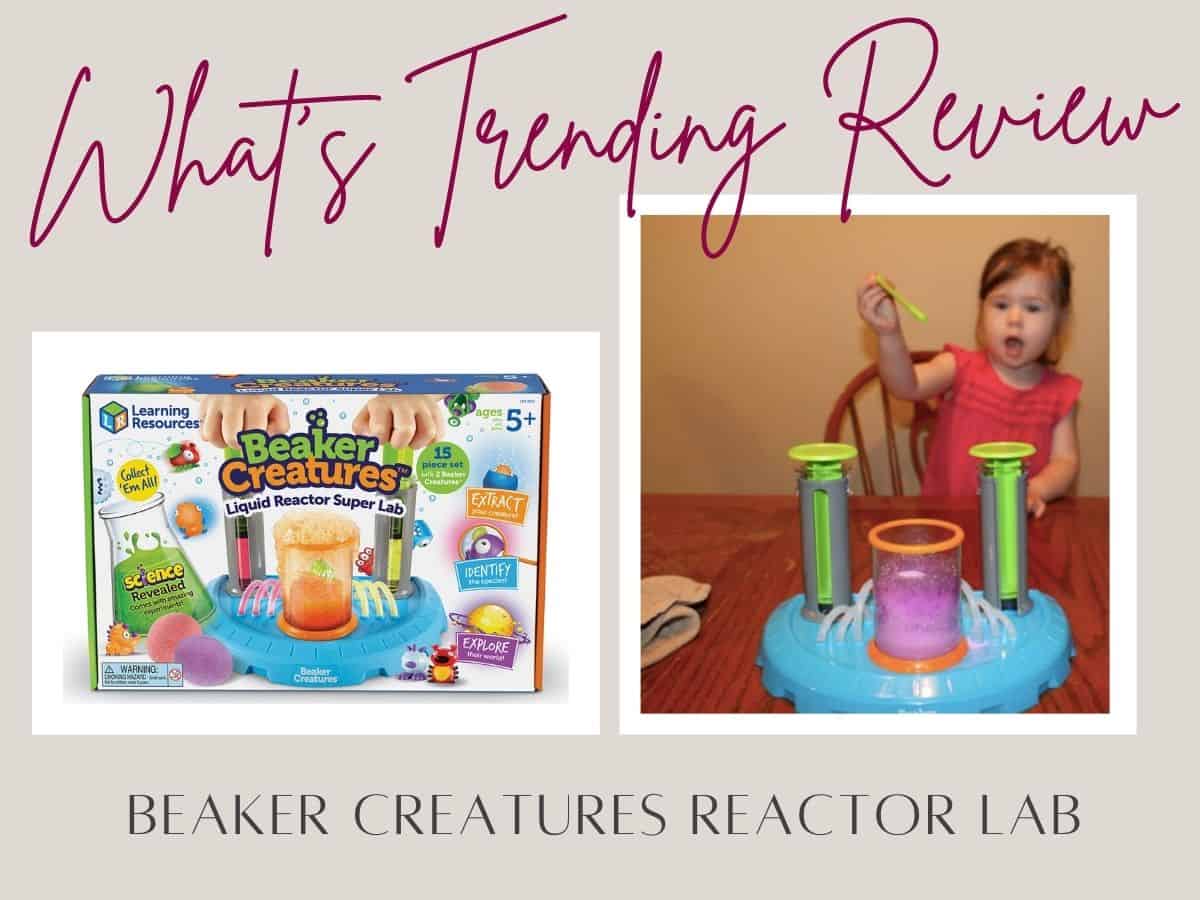
Now, in an effort to fully disclose, we received this Beaker Creatures Lab for free, but all opinions are ours.
Jump to:
Now back to the Beaker Creatures Lab Review:
What's included in Beaker Creatures
When you unpack the Beaker Creatures Lab kit, it will contain:
- 2 plastic beakers
- a stirring stick
- tongs
- 2 reactor pods (with a creature in each one)
- reactor with 2 syringes
How to set up the lab reactor
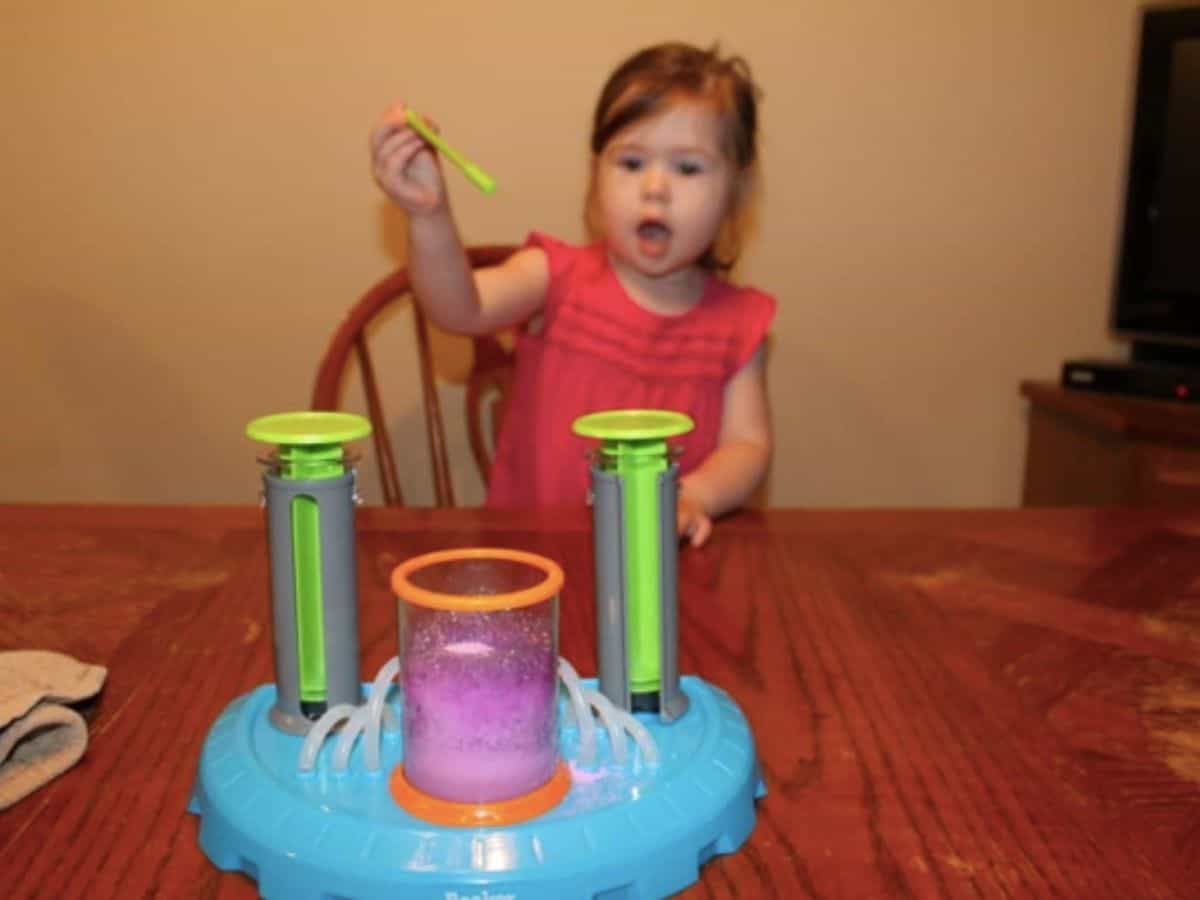
The beaker creatures lab set up is quite easy, which is a definite perk if you are as excited to try it as my daughter and I were! You click the 2 cylinders with the syringes into the reactor plate.
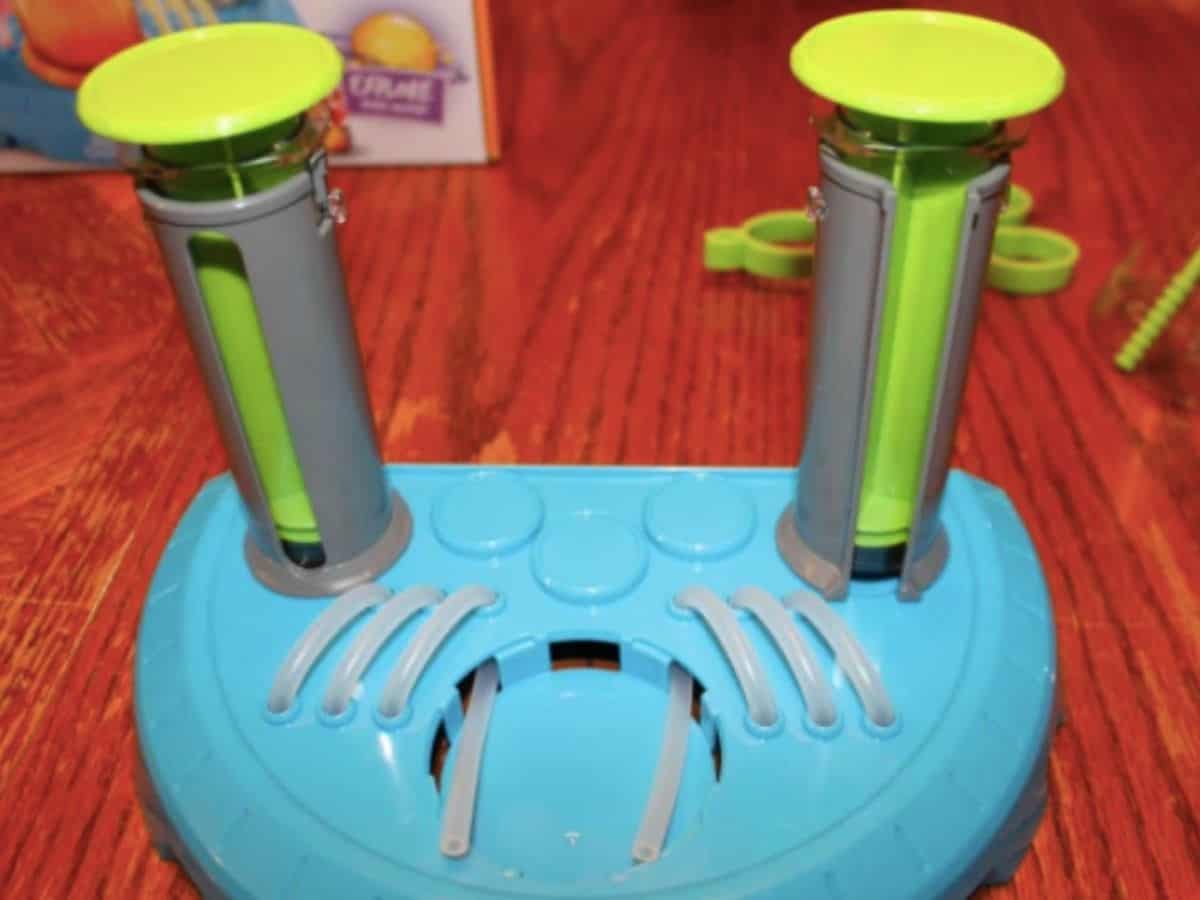
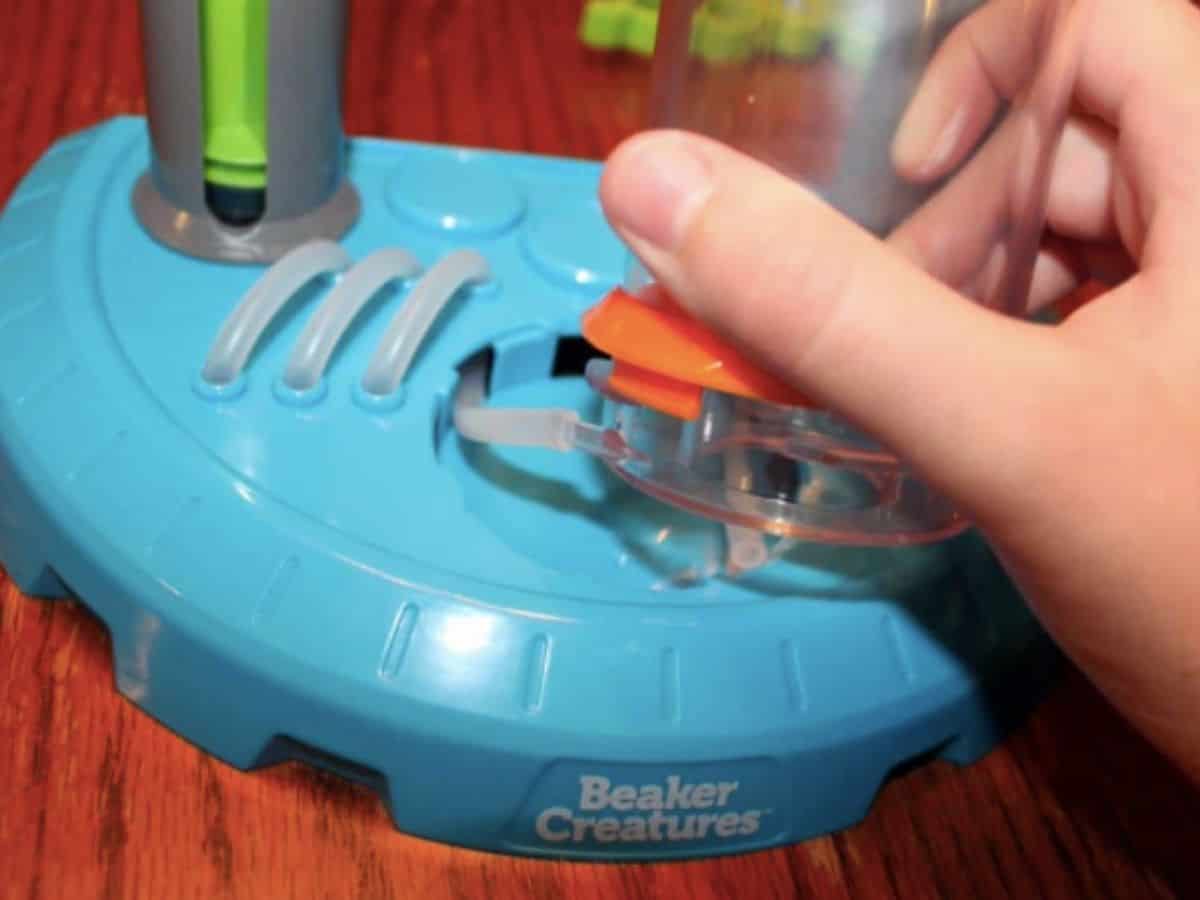
Then you need to hook up the tubing to the main reactor cylinder (see photo below). Test it out first to make sure that the tubing doesn't get kinked, or you will have a hard time pushing liquid from the syringes to the main reactor container.
Fun Experiments for Kids
Experiment 1
There are actually a few different experiments you can do with this Beaker Creatures Lab set.
The first thing you can do is to place the colored reactor pod into the main cylinder and then you fill the syringes up with water. Simultaneously, you press the syringes down and then the reactor pod will start to fizz and dissolve.
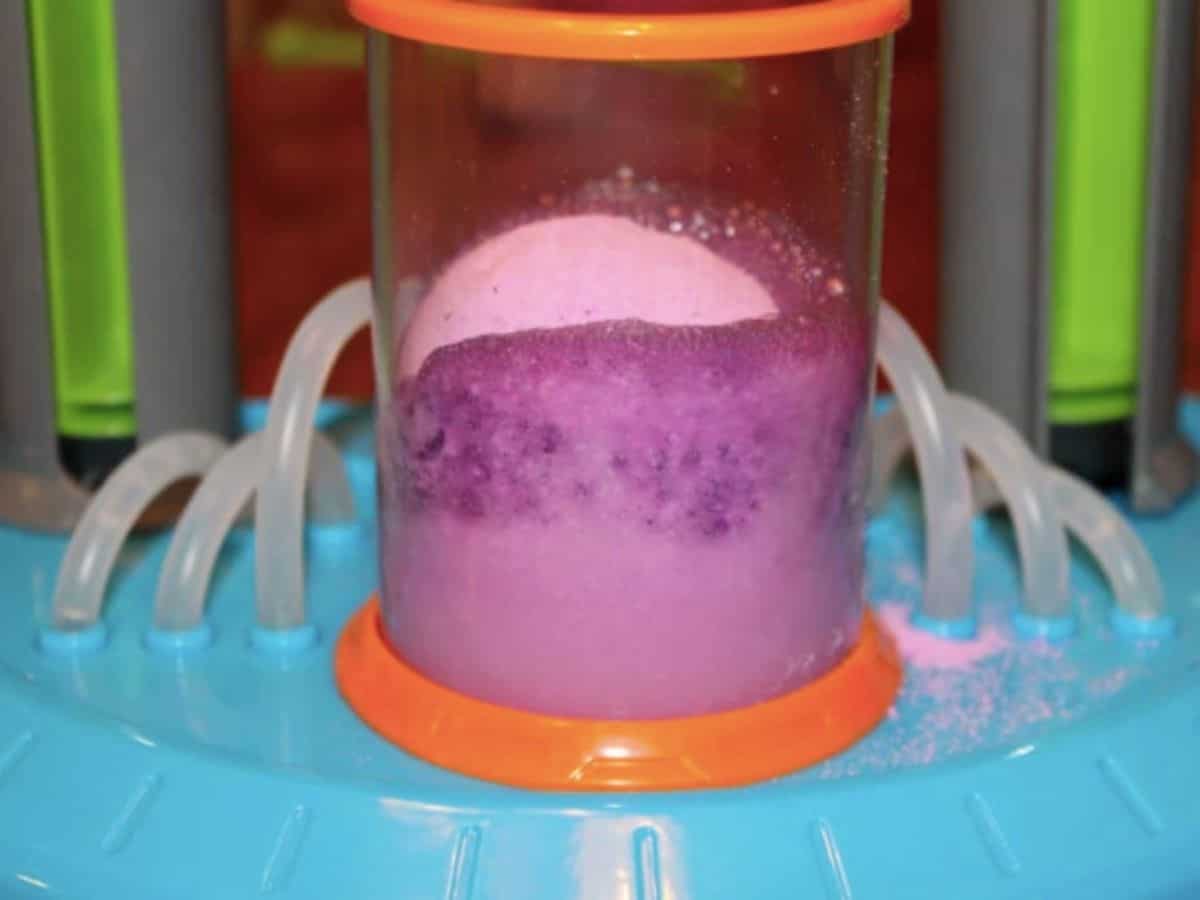
When the fizzing stops, you should be able to use the tongs provided and reach in to grab the container that will be in the liquid. Open it up, and see what is inside!
You can use the provided list of creature to narrow down what you have.
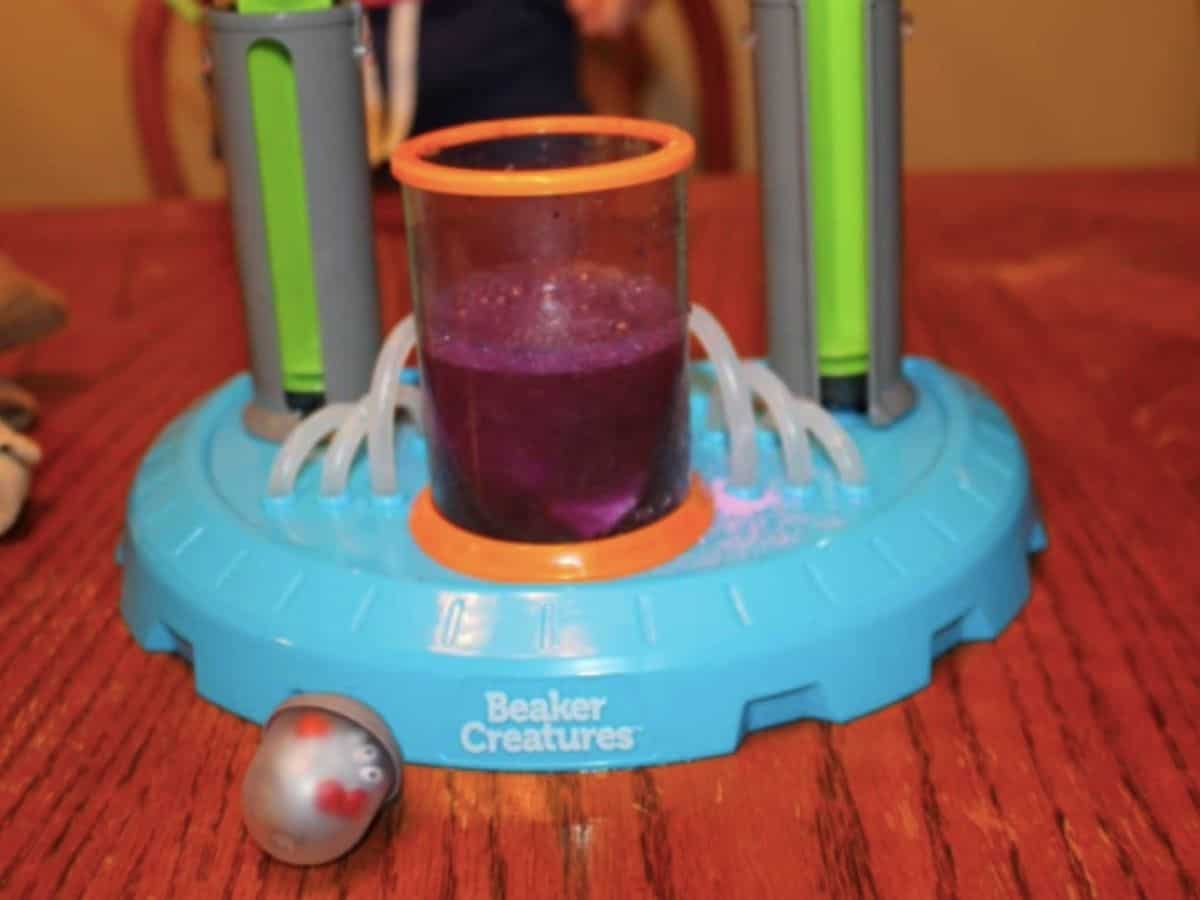
From this Beaker Creatures Lab Review of this experiment, your child is learning about reactions, observations, and classifying their creatures and determining what they are.
With the products provided, you can do this experiment twice! Not only that, you can purchase more reactor pods and collect all the different kinds of Beaker Creatures.
Experiment 2
Another fun experiment you can do with this kit is to fill your syringes up with different colored water. Then, your child will press the syringes down at the same time and it will fill the main reactor container with the colors.
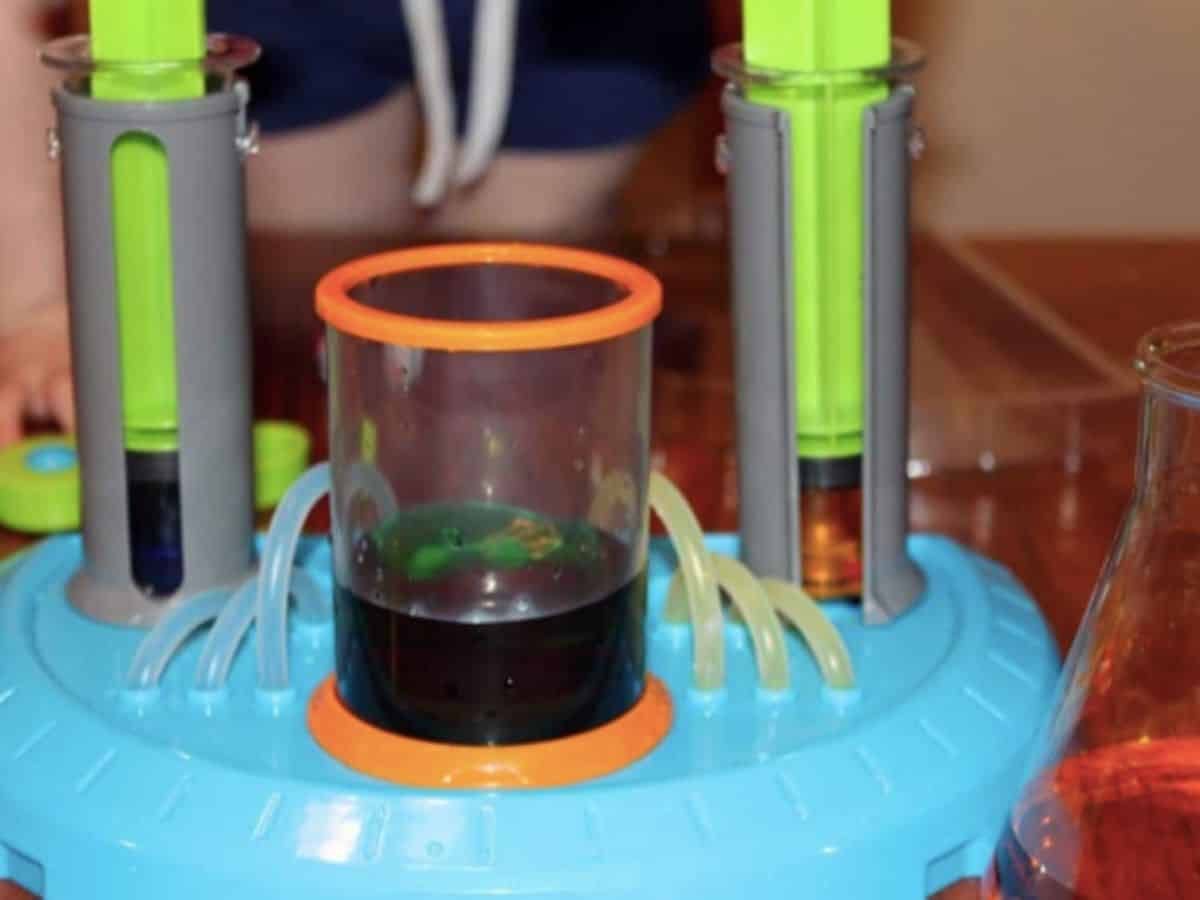
What's cool about this, is that you can see how the colors change when you mix them together.
Experiment 3
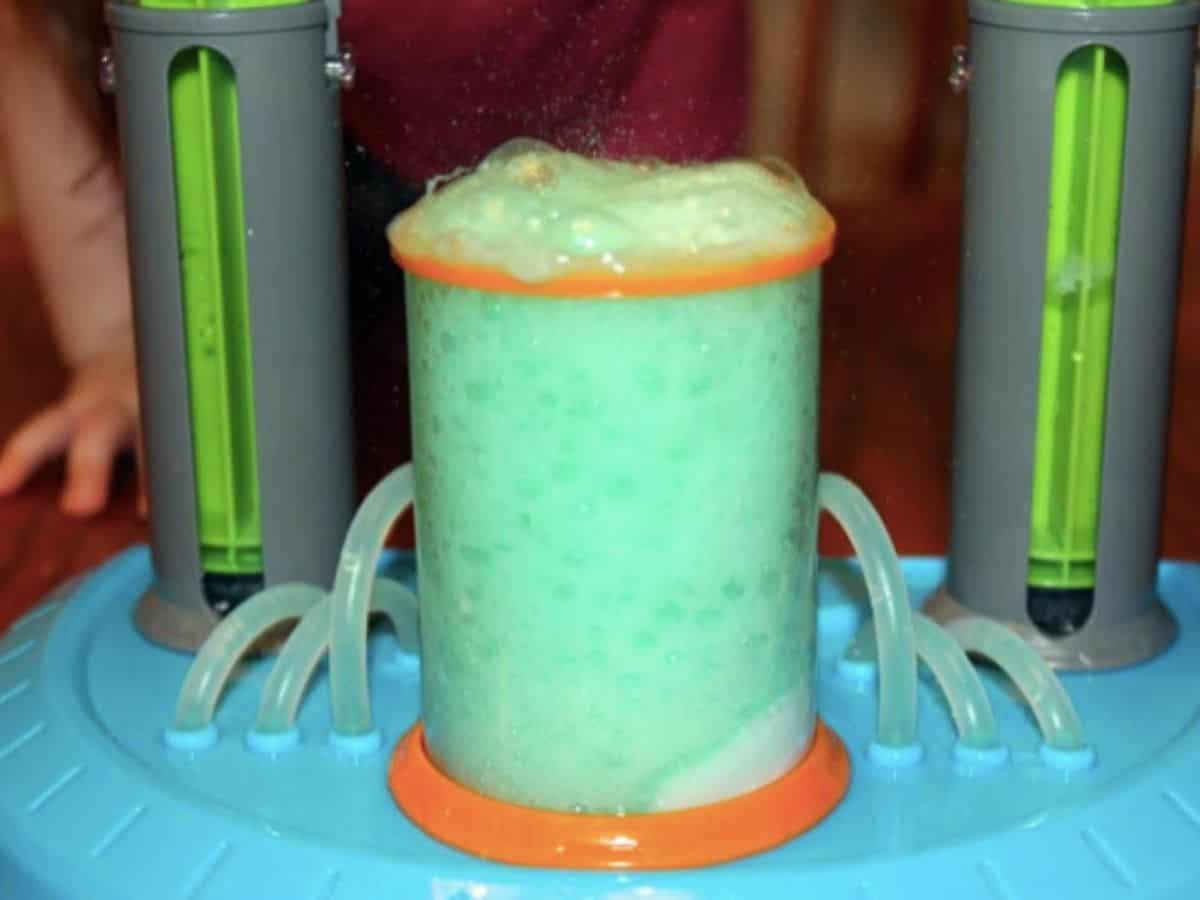
The third experiment you can do is add baking soda to the main reactor container. Then, fill the syringes up with green-colored vinegar (it's colored green so you can really see some effects).
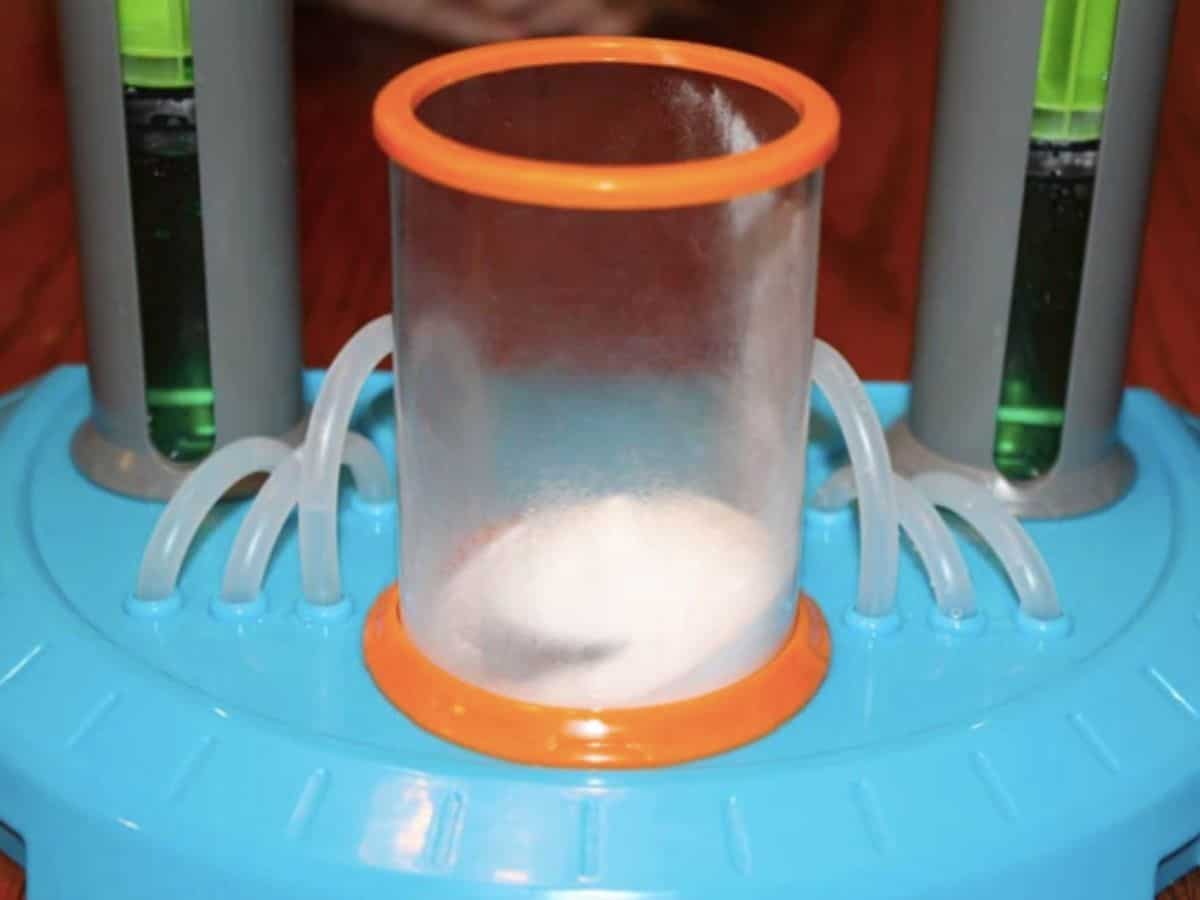
Like before, have your child press the syringes down simultaneously, and watch the reaction happen.
Experiment 4
The fourth experiment is to add olive oil or canola oil to the main reactor container. Then, fill the syringes with water or even a colored water.
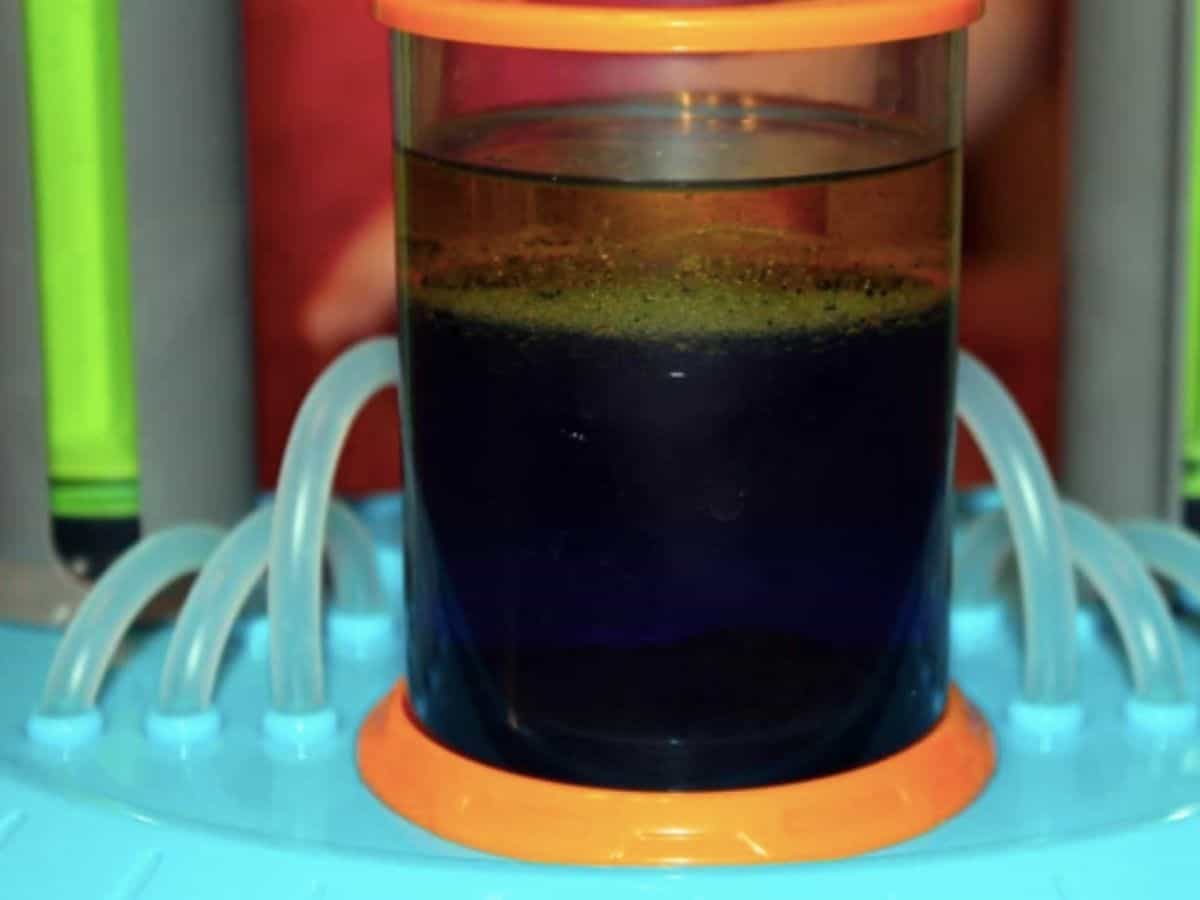
As the water gets pushed into the contain with the oil, your child can start to see the change that happens in that oil and water do not mix.
Where to buy?
A Beaker Creatures Lab review could not be complete without know where you can buy it! This fun Beaker Creatures Lab kit is available here on Amazon.
You can also purchase it directly from The Learning Resources website.
Is it worth it?
It is lots of fun, kinda messy, but definitely worth the small amount of cleanup you will need to do after you are finished.
Beaker Creatures FAQ
You add the reactor pods into the reactor and then press down on the syringes with water. It will fizz like a bath bomb and then dissolve. What's left is a small capsule with a fun little creature.
According to Learning Resources, the pods contain baking soda, citric acid, salt, and corn starch.
There you have it! What do you think of this fun and exciting science gadget? Leave a comment below and let me know!
Thanks for reading this review, if you have a minute please share it so more parents can read about this exciting and educational toy!!


Join the Discussion